Rich of Sykesville submitted the following photos and advise for those who are looking for a good way to get rid of the tank from behind the seat and replace it with a tank between the frame rails in back the the rearend.
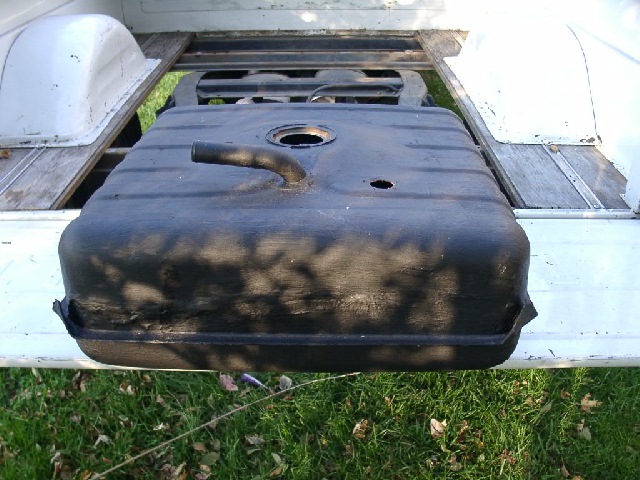
First you need a tank from a K5 circa 1975. The one Rich got was marked '75 by the yard owner but they were all probably the same size and shape well into the 80s. There were two sizes available: 28 and 30-gallon.
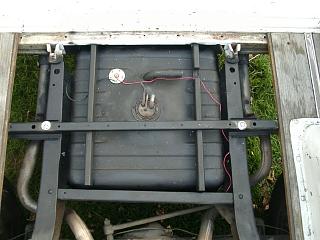
There is some "work" that has to be done on the tank. The nozzle has to be rotated 90 degrees. This is easy. Clean up the nozzle with a wire brush. The nozzle is soldered to the tank. Before you go any further, it's very, very important to remove all gas from the tank. Flush it with a garden hose for at least a half hour and then leave it in the sun to dry for a couple of days. Either do this or make sure your life insurance is paid up and your beneficiary is someone you love. Using a standard hand-held butane torch, wave it around the base of the nozzle to get the solder melting all at the same time. Push the nozzle INTO the tank as far as it will go - it should go a couple of inches or so. Turn the nozzle 90 degrees. Now resolder the nozzle in place. The picture above shows the nozzle already rotated. Before it was rotated you would have been looking into the nozzle in this shot. The large hole is for the stock sending unit for the fuel gauge. while extra hole is for the sending unit that Rich is using because he has custom gauges.
Now, we "work" the truck. You'll need and angle grinder. If you don't have one, Harbor Freight has one for less than $40.

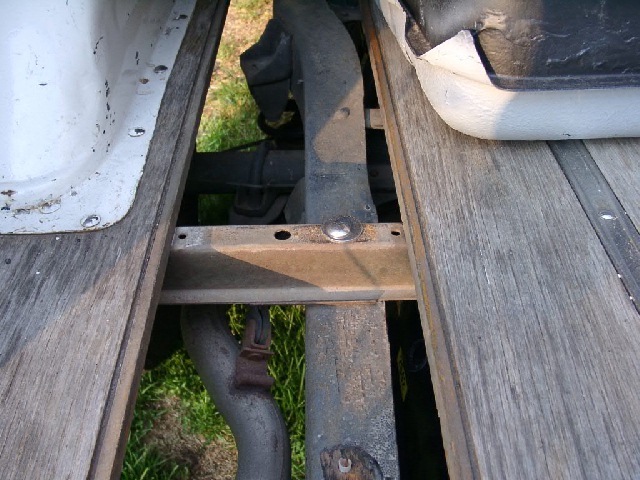
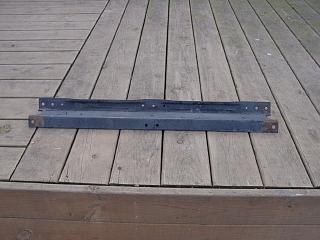
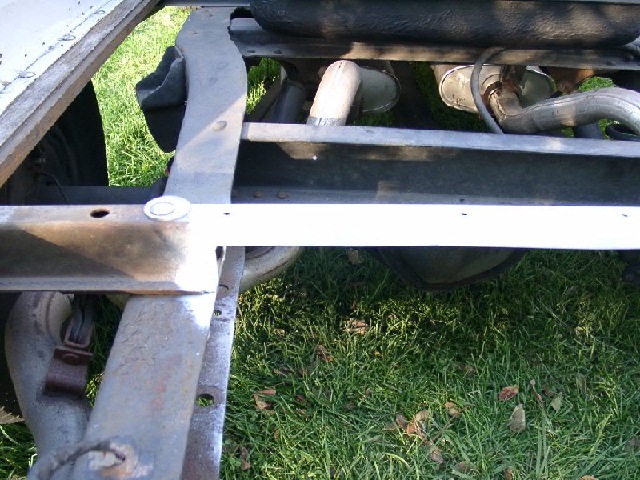
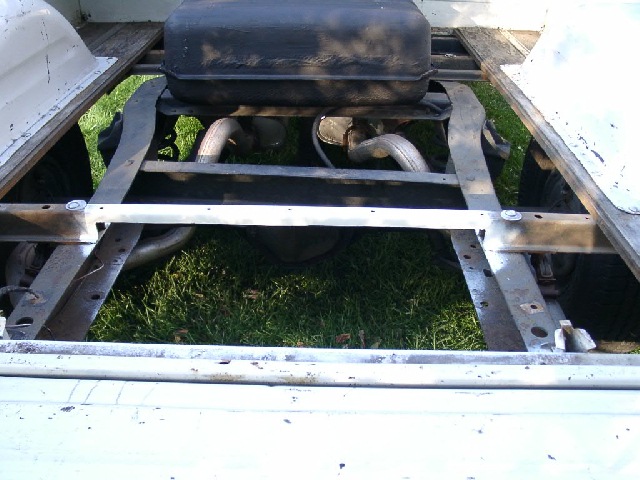
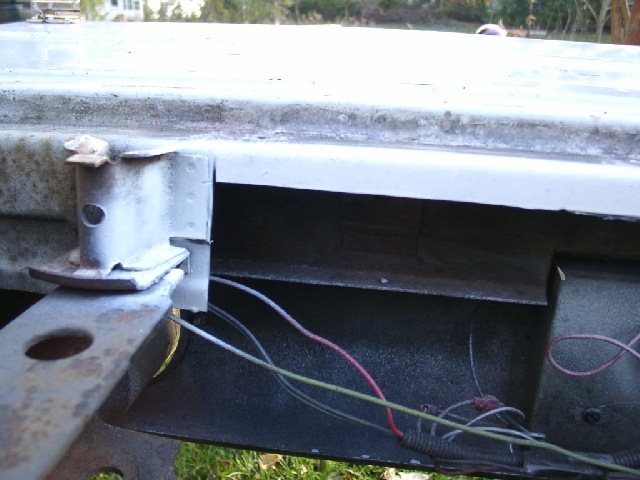
Next some wooden standoffs are made. This picture shows what it ALMOST looks like. These strips run front to rear under the sills and over the tank. These are exactly 2" thick - cut from a 4x4. The final iteration uses 4 bocks 2" thick and 3-1/2" long placed between the tank and the sills - sorry we don't have the proper picture but Rich says he ain't takin' the truck apart to take one!! There is a sketch on the next page. The blocks are attached with galvanized deck screws making sure to countersink them into the rear sill so that your bedwood will slip back into its proper slot.