PVC Oil/Air Separator System
submitted by Todd White
The following design concept is given in the article Automotive Air/Oil Separator (Catch Can) Efficiency - Beyond the Basics. If you are interested in how a "catch can" system really works, this article is a "must read".
Todd installed this system in '66 Chevy pickup as follows:
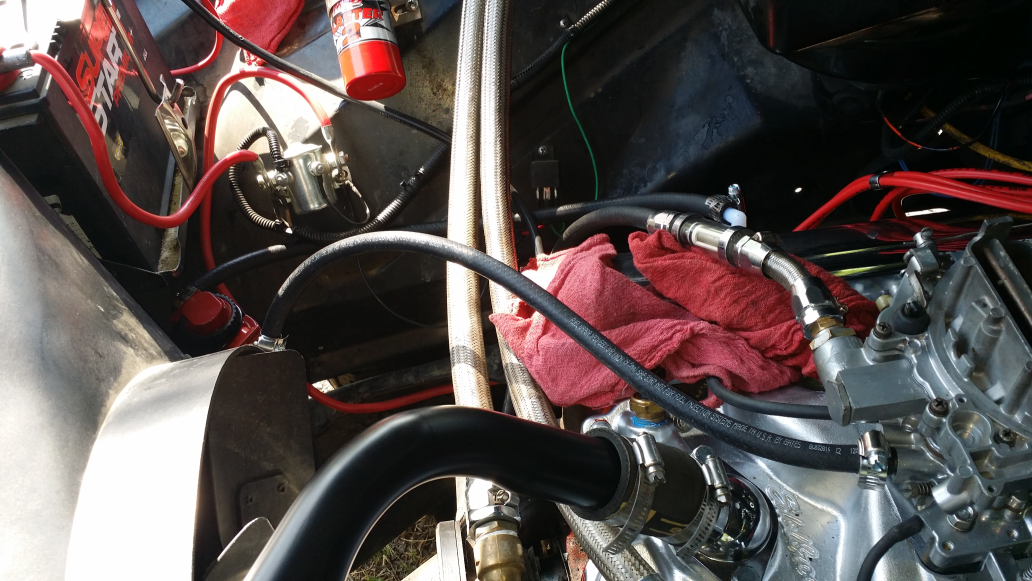
2. He decided it would be placed on the passenger's side of the fiberglass fan shroud near the battery tray:
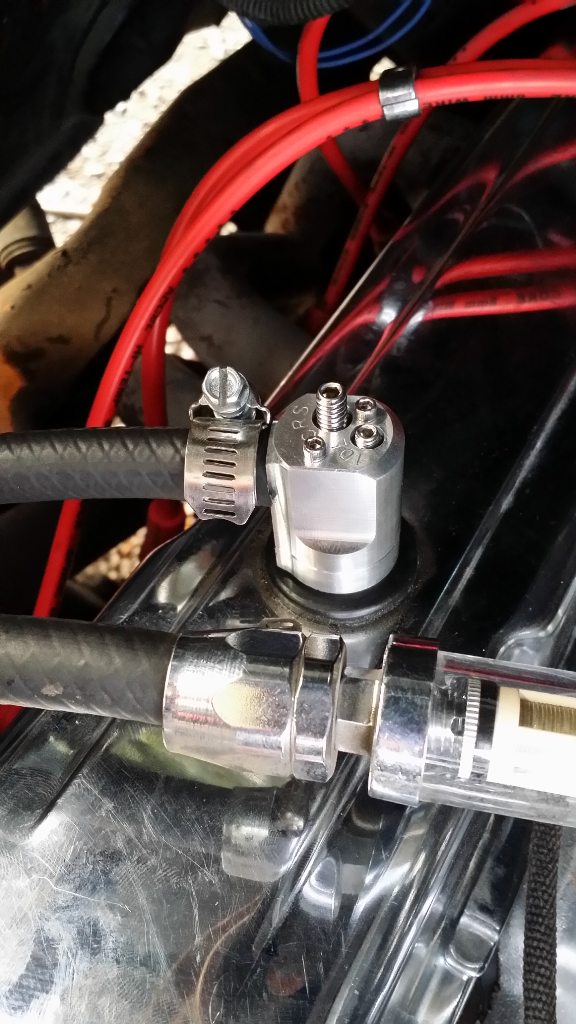
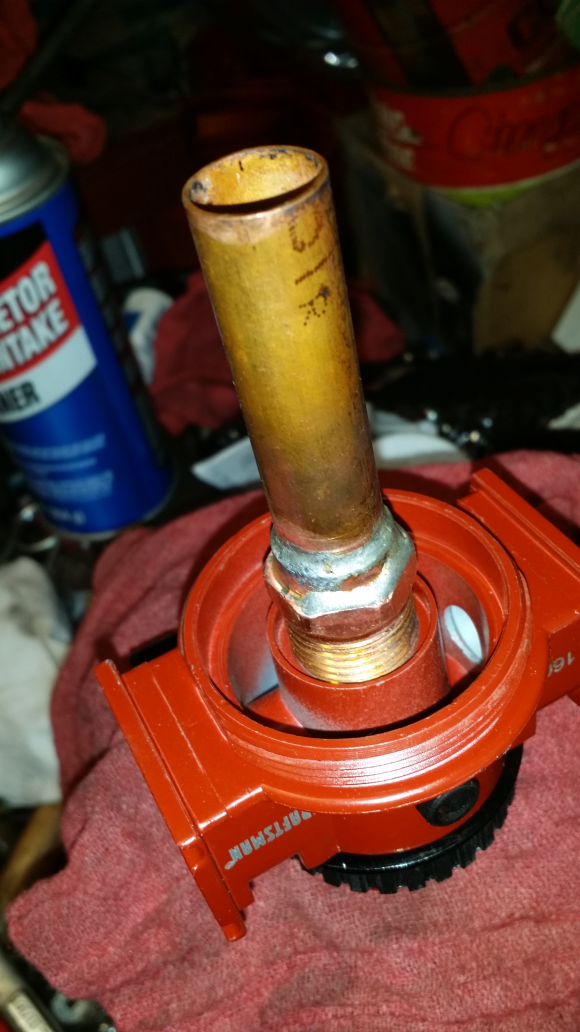
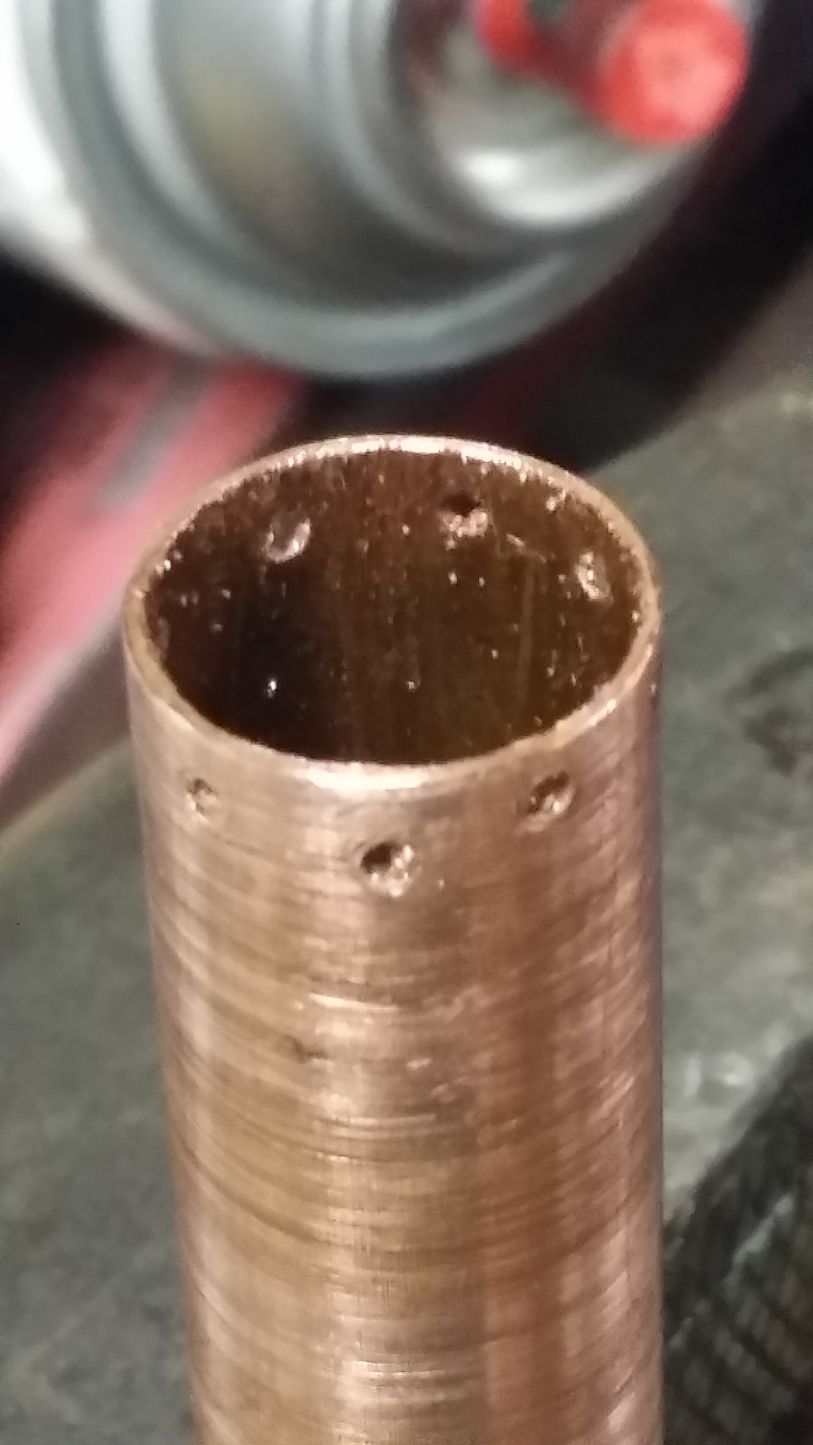
3. Then, using 1/2" copper water pipe and a fitting (which screws right into where the original filter media assembly was, he cut the pipe and dry-fitted the two to see how long to make the pipe. Once he determined the length, he cut it and soldered it all together using flux and acid-core solder. He later added a few 1/16" holes near the bottom of the tube (seen at the top of the picture here), to assist with the condensation of the gases as they come down the tube.
You can clearly see the outlet side of the system in the neck and to the right in this picture.
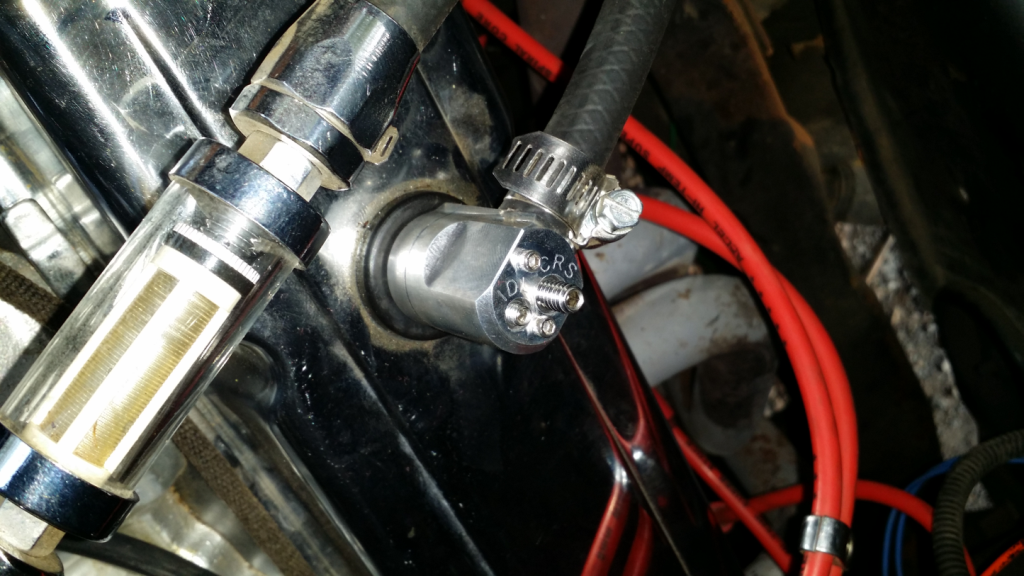
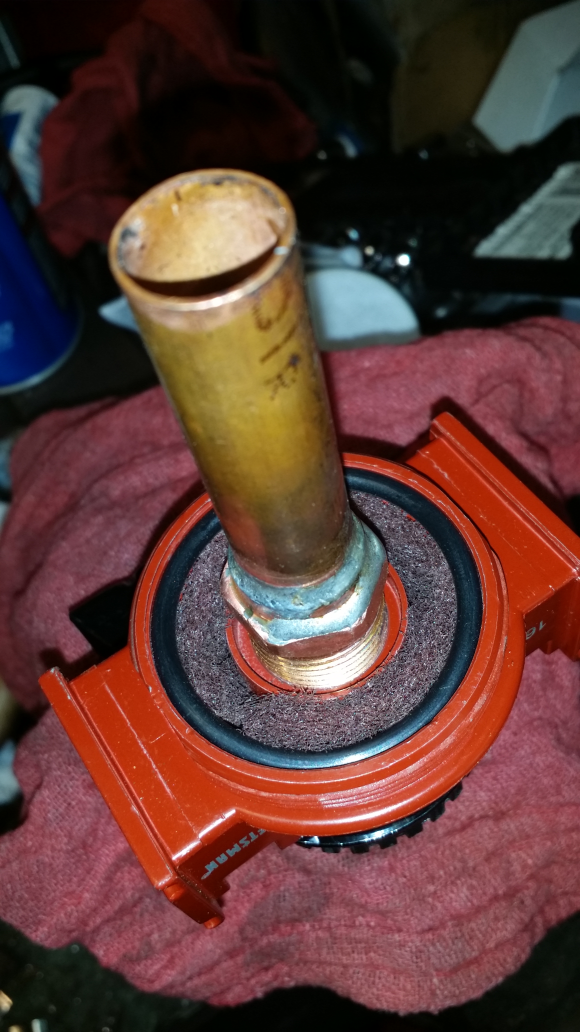
4. Using a fine-cell ScotchBrite-type scrubber pad , he cut a strip and inserted it into the area around the neck. This will help catch any remaining particles immediately before the gases pass out of the unit (as described int he article). Also note that the O-ring for the reservoir has been installed.
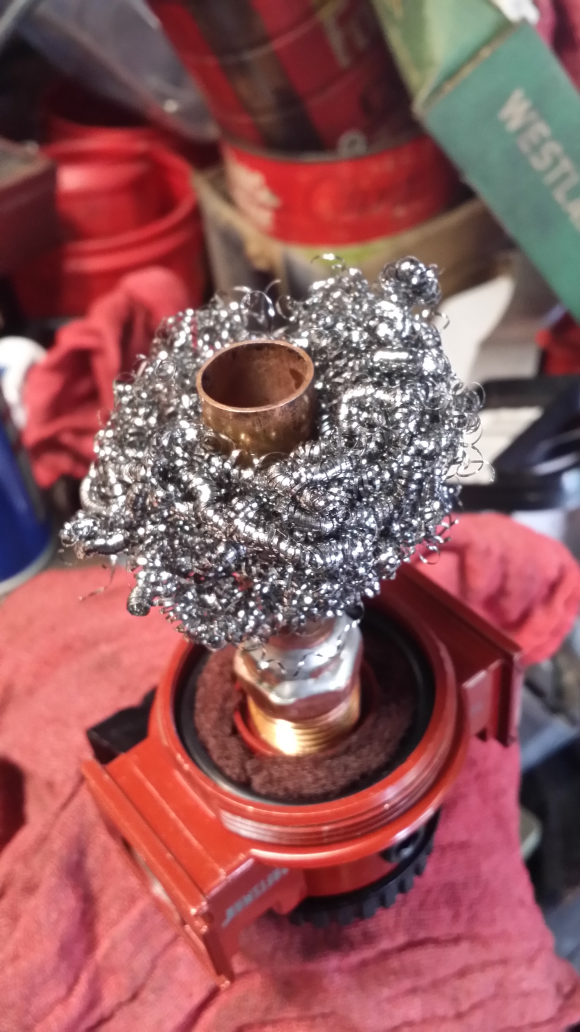
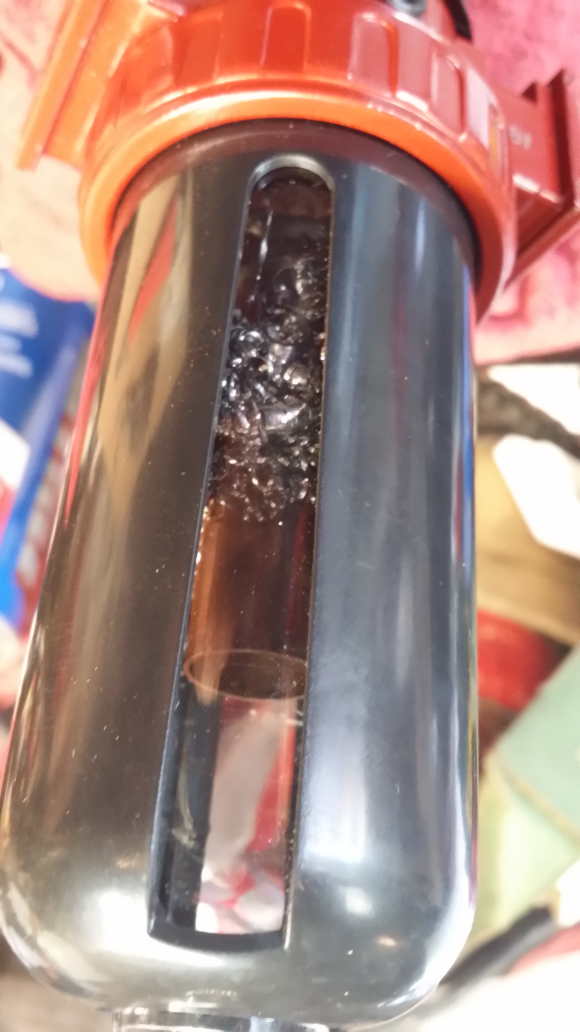
5. He then placed two Chore Boy stainless steel scrubbers around the tube. (This pictures shows only about a half ball of Chore Boy). The Chore Boy is woven in such a way as to have an open in the center so it easily slides over the pipe. The course open-woven construction is excellent for allowing the gases through, but slow the flow down just enough to allow the larger particles of oil to condense and drip down to the bottom of the reservoir:
6. Here is the reservoir installed. You can see the stainless steel Chore Boy pad inside.
7. He used stainless steel bolts with large stainless flatwashers and locknuts on the inside to secure the separator to the fan shroud. Though it doesn't show in this picture, the unit is actually sitting straight up and down, so as to make sure that the inside of the reservoir is level.
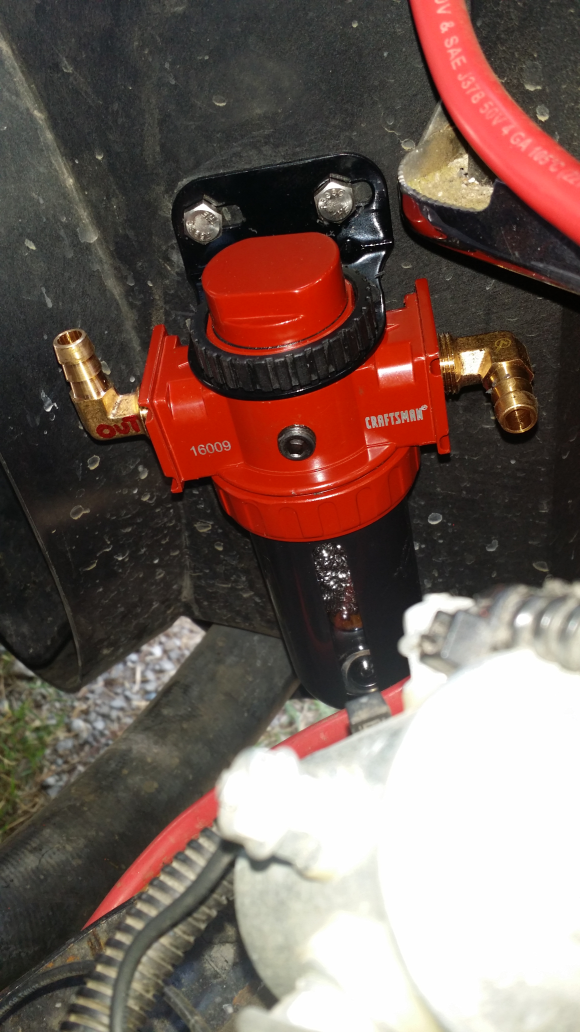
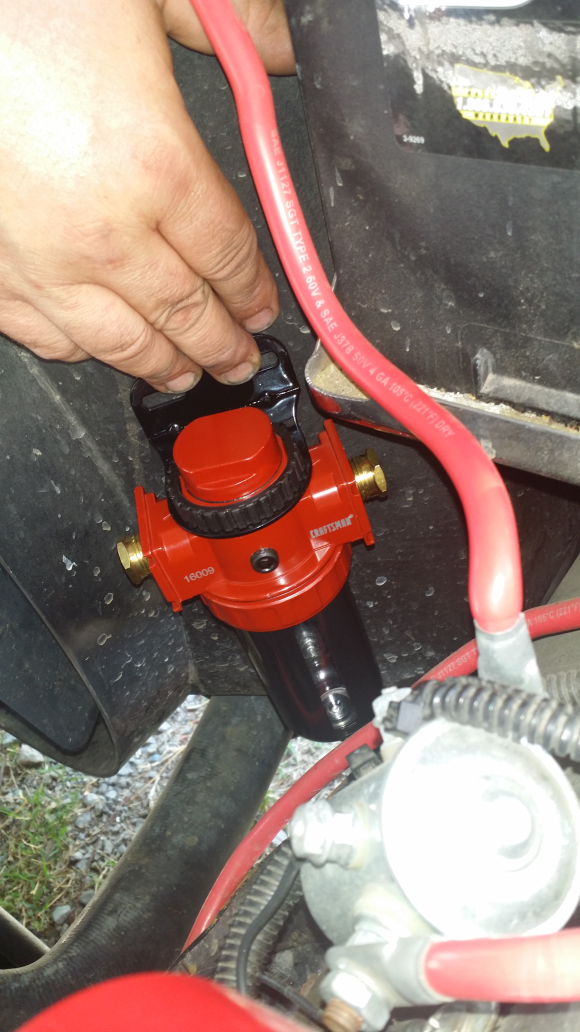
8. Here is the final installation. Since this picture was taken, Todd has added an inline, high-quality (yet inexpensive - $3 at O' Reilly Auto Parts) fuel filter between the catch can and the base of the carburetor. Though very effective, the can itself did not take all the oil out.
Notes:
Further research led Todd to decide that he did not want to leave the PCV valve out of the circuit. Without it, the manifold vacuum pulls a large amount of oil from the crankcase. HOWEVER, getting the "right" PCV valve proved nearly impossible, since he's using a non-stock cam in the 283 small block (it's also been bored out, etc). So, an adjustable PVC valve was added: ME Wagner DF-17 Dual Flow PVC valve
A noticeable difference was realized.